Tips For Soundproofing Your Home Studio
Tips for Soundproofing Your Home Studio
Before you can begin soundproofing your home studio, make sure you know and understand the differences between soundproofing and acoustic treatments. While soundproofing keeps the sound from escaping your studio and blocks external noise from entering your space, acoustic treatments affect the quality of sounds and the way sounds are recorded based on the acoustical responses in the room. While a studio can benefit from both soundproofing and acoustic treatments, before you can begin focusing on how the sound is recorded in your studio, you first have to focus on making sure you’re only recording the sounds you want – without disturbing your neighbors.
As a rule, successfully soundproofing a studio includes four basic principles:
1. Adding mass – To prevent vibrations. The thicker the walls and floor, the more soundproof your studio will be!
2. Damping – Dissipates energy created by sound to dampen sound so that it cannot escape or enter your studio.
3. Decoupling – Ensuring two solid structures are not in direct contact. When walls, ceilings, and floors are in direct contact without anything to separate them, it creates vibrations. Decrease vibrations by leaving air gaps or rubber isolators between surfaces.
4. Filling air gaps – If there are areas where air escapes from your studio, sound can escape as well. Air can escape underneath doors and through any small holes you have in your studio, so these should be sealed as tightly as possible – but don’t forget to leave yourself a ventilation system so you can breathe!
You should keep these in mind throughout the design and building process, and these principles will inform many of the building tips we have to offer.
The following tips for soundproofing a home studio will help you create a studio that you can use to begin a professional career in music!
1. Stick to the “room within a room” principle

Room Within A Room – Courtesy of macprovid.vo
2. Build new, thick walls
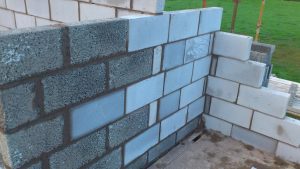
Concrete Walls – Courtesy of fmkni.com
3. Install new flooring that will cut vibrations
Studio Flooring – Courtesy of mypixo.com
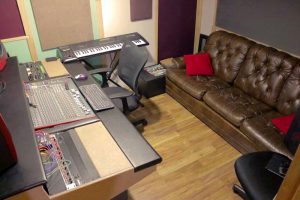
4. Choose a room that’s large enough to create a decent “room within a room”
Iso Booth – Courtesy of ehomerecordingstudio.com
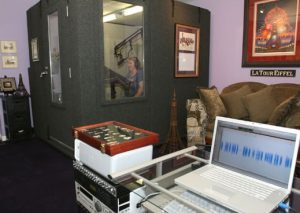
5. Don’t forget about the doors and windows!
Home Studio Windows – Courtesy of pistonheads.com
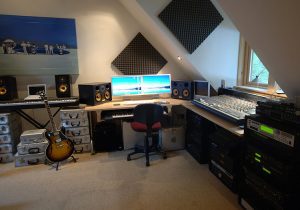
6. Keep technology and instruments from making direct contact with the floor
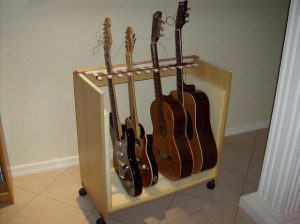
Guitar Stand – Courtesy of Taylor Guitars
For more information about designing and building your own soundproof home studio, check out these resources:
• How to Soundproof a Room for Music Recording – Provides an understanding of the four basic principles we mentioned as well as tips for decreasing the amount of unwanted noise that’s being made inside your studio, such as computer noise and A/C noise.
• How to Soundproof Your Home Studio or Rehearsal Space Like a Pro – Addresses what to do if you’re renting your space or can’t make some of the more permanent additions to your space that we’ve suggested.
At The Los Angeles Film School, our degree programs in Audio Production and Music Production are designed to prepare students for successful careers, whether they’re moving on to a professional studio or building their own!