
Podcast Production 101: From Recording to Publish
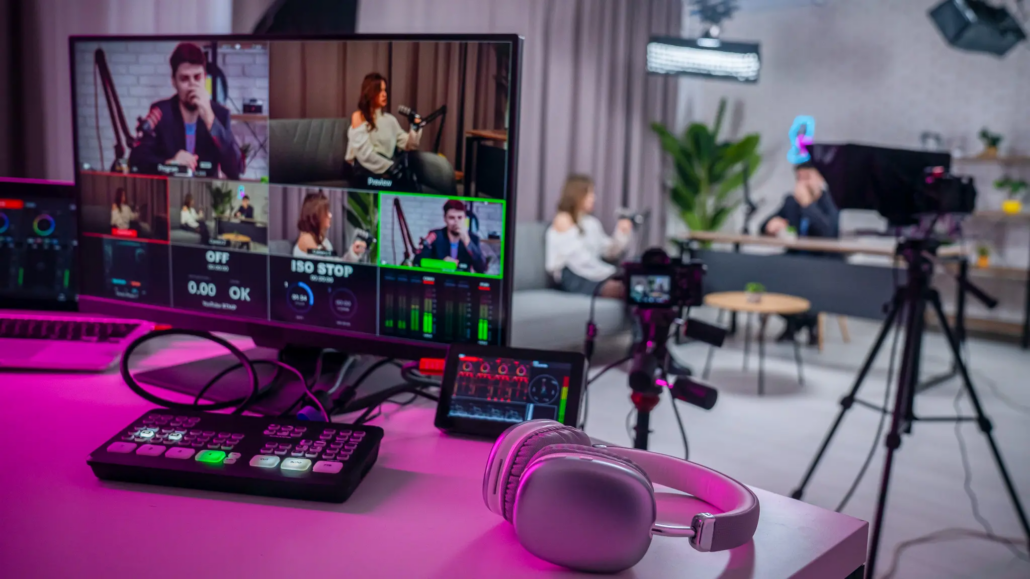
Anyone can hit “record” on a phone and call it a podcast. Almost nobody does it well enough to make a stranger stop scrolling and hit play on episode two. The gap between those two outcomes isn’t luck, and it isn’t a pile of expensive podcast equipment — it’s process. If you’re trying to figure out how to start a podcast, or how to produce a podcast that actually sounds like a show instead of a phone call, this guide walks you through the exact production chain professionals use to turn a conversation into a polished, published episode, from the mic on your desk to the feed on someone’s phone.
Your Podcast Journey From Mic to Feed
Podcasting looks simple from the outside: two people talk, someone hits publish. What actually happens in between is a full production pipeline — one that borrows techniques straight out of audio production and music production workflows. You’re capturing a signal, protecting it, shaping it, and delivering it in a format built for one very specific job: making spoken word sound effortless.
Here’s the thing worth knowing before you touch a single fader: every step downstream depends on the step before it. Bad room noise at the mic means hours of noise reduction later. Clipped audio at the source can’t be un-clipped in the edit. Get the front end right, and everything after it gets easier.
Before You Record: Setting Yourself Up for Success
The best edit in the world can’t save a podcast recording that was doomed from the start. Before you press record, a few decisions determine whether you’re setting yourself up for a clean process or a painful one.
Choosing the Right Microphone for Speech
Not all podcast microphones are built the same, and podcasting has different needs than music production does. You’re not chasing a shimmering vocal take — you’re chasing consistency across hours of conversation.
- Dynamic microphones reject background noise well, which makes them forgiving in untreated rooms or shared apartments.
- Condenser microphones pick up more detail and warmth but also pick up every hum, bark, and passing car — great in a treated space, risky outside one.
- USB vs. XLR matters less than people think. A solid USB mic into your laptop beats a great XLR mic run through a bad interface.
Match the mic to the room you actually have, not the room you wish you had.
Setting Up Your Space and Software
Your recording software, or DAW (Digital Audio Workstation), is the other half of the equation. Whether you’re on Audacity, Adobe Audition, Pro Tools, or Reaper, the goal is the same: capture a clean file you won’t have to fight later.
A few fast wins that cost nothing:
- Record in a small, soft-furnished room — closets full of clothes are a podcaster’s secret weapon.
- Turn off ceiling fans, HVAC, and anything with a motor.
- Set your DAW to record at 48kHz/24-bit as a safe, professional standard.
- Always record a few seconds of “room tone” (silence) at the start — it’s a lifesaver during noise reduction.
Mic Technique for Spoken Word
This is where a lot of new podcasters lose quality they never get back. Good mic technique is free. It costs nothing but attention, and it separates a show that sounds “homemade” from one that sounds intentional.
Distance, Angle, and the Proximity Effect
Get too close to a mic and bass frequencies build up unnaturally — that’s the proximity effect, and it’s why some voices sound boomy and muffled on camera or mic. The fix is simple:
- Sit four to six inches from the mic for most dynamic mics, adjusting for your specific model.
- Angle slightly off-axis (speaking just past the mic rather than directly into it) rather than straight-on.
- Keep that same distance and angle for the entire session — moving around mid-sentence is what causes uneven levels.
Taming Plosives, Sibilance, and Room Noise
Hard consonants like “P” and “B” create bursts of air that slam a mic’s diaphragm — those are plosives. Sharp “S” and “T” sounds create sibilance, a harsh hiss that gets fatiguing fast in headphones.
- A pop filter breaks up the air blast from plosives before it hits the capsule.
- Speaking slightly off-axis (see above) does double duty here too.
- Room noise — traffic, fans, roommates — is far easier to prevent at the source than to remove afterward with heavy noise reduction.
Golden rule: the best noise reduction plugin is a quiet room. Everything after that is damage control.
Recording Remotely Without Ruining the Audio
Remote guests are the norm now, not the exception — and this is where most shows fall apart audio-wise. If you haven’t figured out how to record a podcast remotely without a plan, it almost always means a compressed, glitchy, “video call” sound.
The Tools That Capture Clean Remote Audio
Dedicated remote recording platforms (think Riverside, Squadcast, or Zencastr) record each participant’s audio locally on their own device, then upload high-quality files after the call — instead of streaming everything live through a shaky connection.
- These tools sidestep the compression that video call software applies to save bandwidth.
- You still get a synced multitrack session so that each voice can be edited independently.
Recording Locally: The Double-Ender Method
If you’re not using a dedicated platform, the double-ender method is the old-school, bulletproof backup: every guest records their own audio locally on their own device — a phone voice memo works in a pinch — and sends you the file afterward.
- Zero internet dependency means zero internet-related audio artifacts.
- The tradeoff is coordination: you’re relying on your guest to hit record and actually send the file.
Getting Clean Levels at the Source
Once the technique and the tools are in place, the next job is getting the actual audio levels right before a single edit happens.
Gain Staging and Avoiding Clipping
Gain staging means setting your input level so your voice sits comfortably loud without ever hitting the ceiling and distorting — that harsh digital crackle is called clipping, and it can’t be fixed after the fact. Think of your signal chain — mic, cable, interface, DAW — as a relay race: if one leg drops the baton (too hot, too quiet, mismatched levels), everything after it is playing catch-up.
Fast podcast recording tips for a clean signal:
- Aim for peaks around -12dB to -6dB on your DAW’s meter, leaving headroom.
- Watch levels during a soundcheck, not just once at the start of a two-hour interview.
- When in doubt, record a little quieter rather than a little louder — quiet audio can be boosted; clipped audio is gone for good.
Why Good Input Beats Fixing It Later
This is the mantra every audio engineer repeats for a reason: you cannot fully repair a bad recording in post. Editing and audio editing plugins can polish a good take — they can’t resurrect a ruined one. Every minute spent on setup saves ten minutes of damage control later.
Editing for Conversational Rhythm
With clean files in hand, it’s time to shape the conversation itself. Good podcast editing protects the natural energy of a conversation while quietly tightening everything around it.
Cutting for Flow Without Losing Natural Feel
The goal isn’t a sterile, machine-paced conversation — it’s one that moves. That means:
- Trimming long dead air and awkward tangents that don’t serve the episode.
- Preserving natural reactions, laughs, and pauses that give a conversation life.
- Listening back at real speed (not just skimming a waveform) to judge what actually feels right.
Removing Filler Without Making It Sound Robotic
Cutting every single “um” and “like” sounds tempting — and it’s usually a mistake. Over-edited speech reads as uncanny and robotic. A few reliable podcast editing tips to keep things sounding human:
- Remove filler words that interrupt a thought, not ones that are part of natural speech rhythm.
- Leave a few in — a little imperfection is what makes a host sound human instead of synthesized.
- Edit for clarity first, polish second.
Cleaning and Sweetening the Audio
Once the structure and pacing are locked, it’s time for sound editing at the technical level — the pass that makes a good recording sound great.
Noise Reduction, EQ, and Compression Basics
Three tools do most of the heavy lifting here:
- Noise reduction pulls out consistent background hum, hiss, or room tone.
- EQ (equalization) shapes tone — cutting muddiness in the low end, adding clarity in the high mids.
- Compression evens out the gap between a speaker’s loud and quiet moments, so a listener isn’t constantly reaching for the volume knob.
Used with a light touch, this trio is the difference between audio that sounds “recorded” and audio that sounds produced.
Adding Music, Intros, and Transitions
This is also where a podcast gets its personality. Intro music, sound beds, and transition stingers turn a raw conversation into a branded show — and it’s a natural lane for students in Music Production to build real-world composition and licensing chops. The same instincts for pacing sound against dialogue show up constantly in Animation, where voiceover, sound effects, and score all have to land in perfect step with the picture.
Loudness Targets for Spoken Word
You can nail every technical step above and still publish an episode that sounds too quiet — or blows out someone’s earbuds. That’s a loudness problem, and it has an industry-standard fix.
Understanding LUFS for Podcasts
LUFS (Loudness Units Full Scale) measure perceived loudness rather than raw peak volume. Most platforms recommend a target of roughly -16 LUFS for stereo (or -19 LUFS mono), which:
- Keeps your show comfortable at a normal listening volume.
- Matches the loudness listeners expect after years of Spotify and Apple Podcasts normalization.
Why Consistency Matters Across Episodes
A listener who has to adjust their volume every time a new episode starts is a listener who eventually stops adjusting — and starts skipping. Hitting the same loudness target episode after episode builds trust in your show’s production quality, even if the listener couldn’t articulate why it sounds “professional.”
Exporting and Distribution Basics
Your episode is edited, cleaned, and leveled. Now it has to actually get to a phone — this is the part most beginner guides skip, and it’s exactly how to publish a podcast the right way.
File Formats, Metadata, and ID3 Tags
Export your final mix as an MP3 (typically 128–192kbps for spoken word — no need for the huge file sizes music requires). Then fill out the ID3 tags: episode title, show name, artist, artwork, and episode number.
- Metadata is what makes your show searchable and recognizable across apps.
- Missing tags are a small detail that makes a show look unfinished.
- Cover art belongs in this step too — a sharp, legible thumbnail is a Graphic Design problem as much as an audio one, and it’s often the first impression a potential listener gets.
RSS Feeds and Getting Onto Podcast Platforms
Every podcast lives on an RSS feed — a structured file that tells apps like Apple Podcasts and Spotify when a new episode drops. Here’s the actual flow:
- Upload your episode to a podcast hosting platform (Buzzsprout, Libsyn, Podbean, and similar services).
- Your host generates an RSS feed automatically.
- Submit that single feed link to Apple Podcasts, Spotify, and other platforms — once.
- Every future episode you upload distributes automatically to all of them.
Building a Repeatable Production Workflow
The first episode always takes forever. The tenth episode shouldn’t — if you’ve built a system.
Templates, Checklists, and Saving Time
- Save DAW session templates with your EQ, compression, and levels pre-set.
- Build a pre-record checklist (room tone, mic check, backup recording running).
- Standardize your export settings so you’re not re-deciding file formats every week.
Scaling Your Process as You Grow
As a show grows, so does the workload — and that’s exactly where Entertainment Business know-how starts to matter as much as audio chops. Budgeting for editors, negotiating sponsorships, and planning a release calendar are business skills wrapped around a creative product.
Why These Skills Matter Beyond Podcasting
Here’s the part that matters most if you’re building a career, not just a hobby project: none of what you just learned is podcasting-specific.
Transferable Audio Skills for Any Career
Gain staging, EQ, compression, noise reduction, mic technique — this is the exact same toolkit used on a film set, in a music studio, and in a post-production suite. A boom operator on a Film set worries about proximity effect. A mixer on a Writing for Film & TV project worries about dialogue clarity. The vocabulary transfers directly.
Career Paths in Audio Production and Post
Solid audio production fundamentals open doors well past podcasting: location sound, dialogue editing, ADR, sound design, music mixing, and post-production audio for film and animation all draw on this exact skill set.
How LA Film School Prepares Students for Audio Careers
Hands-On Training From Recording to Delivery
You don’t build these instincts by reading about gain staging — you build them by making mistakes on real gear until they become second nature. That’s the philosophy behind LA Film School’s Audio Production program: hands-on training across recording, editing, mixing, and mastering, taught by working industry professionals who’ve solved these exact problems on real projects. For students who need flexibility, the Audio Production Online program delivers the same industry-relevant training on your own schedule, and the Media & Communications Online program is a strong fit for anyone building a broader media career where podcasting is one tool among several.
Hit Record With Confidence
Every skill in this guide — mic technique, remote recording, editing for rhythm, hitting your loudness targets, understanding distribution — adds up to one thing: a show that sounds like you know what you’re doing. That confidence doesn’t come from expensive gear. It comes from a repeatable process you trust, built one episode at a time.
If this is the world you want to work in — not just as a hobby, but as a career — request more information about LA Film School’s Audio Production programs, or go ahead and start your application today.
FAQs: Podcast Production 101: From Recording to Publish
What do you need to start a podcast?
To start a podcast, you need a quality microphone suited for speech, headphones, recording and editing software known as a DAW, and a quiet space to record. Beyond the gear, you’ll need a clear concept and a plan for editing and distribution. While equipment matters, good technique and a consistent process often have a bigger impact on quality than expensive tools.
What is the best microphone technique for podcasting?
Good podcast mic technique involves speaking at a consistent distance and angle from the microphone, usually a few inches away and slightly off-axis to reduce plosives. Maintaining steady positioning helps keep levels even, while a pop filter can further reduce harsh “p” and “b” sounds. Proper technique captures clean, professional-sounding speech and reduces the need for heavy editing later.
How do you record a podcast with remote guests?
Recording remote guests can be done through dedicated remote recording platforms that capture high-quality audio, or through the “double-ender” method, where each participant records their own audio locally. Local recording avoids the quality loss that can come from internet connections. Whichever method you choose, having each voice recorded cleanly makes editing and mixing much easier.
What are LUFS and why do they matter for podcasts?
LUFS, or Loudness Units Full Scale, measure the perceived loudness of audio. Podcast platforms often recommend loudness targets, commonly around -16 LUFS for stereo, so episodes play back at a consistent, comfortable volume. Meeting these standards ensures listeners don’t have to adjust their volume between shows and that your podcast sounds professional across devices.
How do you edit a podcast to sound natural?
Editing a podcast for a natural feel means tightening the conversation without removing its human rhythm. This involves cutting long pauses, removing distracting filler words, and smoothing transitions while preserving the flow of genuine dialogue. Over-editing can make speech sound robotic, so the goal is to enhance clarity and pacing while keeping the conversation authentic.
How do you publish and distribute a podcast?
Publishing a podcast involves exporting your finished episode in the proper format, adding metadata like titles and tags, and uploading it to a podcast host. The host generates an RSS feed, which you submit to platforms like Apple Podcasts and Spotify. Once your feed is accepted, new episodes are automatically distributed to listeners across those platforms.
Are podcast production skills useful for other careers?
Yes. The skills involved in podcast production—recording, editing, mixing, and mastering audio—transfer directly to careers in film and television sound, music production, and audio post-production. Learning to capture and shape spoken-word audio builds a strong technical foundation that applies across the broader audio industry, making these skills valuable well beyond podcasting.
